How to Install Softaculous on InterWorx


Cheap reseller Hosting


Installing Softaculous on InterWorx

Softaculous can also easily be integrated into your Interworx Server.  Softaculous is tightly integrated with Interworx. The following article will show you how to install Softaculous on Interworx.


Installing Softaculous on InterWorx


Step 1 : Before starting the installation make sure ionCube Loaders are enabled.

Step 2 : Login to your InterWorx server as root via SSH.

Step 3 : Execute the following commands:

cd /usr/local &&
wget -N http://www.softaculous.com/iwx/install_softaculous.php &&
chmod 755 install_softaculous.php &&
/home/interworx/bin/php /usr/local/install_softaculous.php

The installer will start, and provide you with an on screen updates as they come in. 

Thats it the installation of Softaculous is completed!

Interworx


Cheap web Hosting


How to Install Softaculous in Plesk Linux


Cheap reseller Hosting


How-to-Install-Softaculous-in-Plesk-Linux

It’s similar process as both for DirectAdmin and cPanel, the installation process for Plesk is similar. The following article will show you

How to install Softaculous on Plesk Linux

Step 1 : Before starting the installation make sure ionCube Loaders are enabled.

Step 2 : Login to your Plesk server as root via SSH.

Step 3 : Enter the following commands:

cd /usr/local &&
wget -N http://www.softaculous.com/pl/install_softaculous.php &&
chmod 755 install_softaculous.php &&
/usr/bin/php -d open_basedir=/ -d safe_mode=0 -d disable_functions=”” /usr/local/install_softaculous.php


The installation of Softaculous is completed

You will see following Screen 

Softaculous for Plesk


If you wish to finish the installation quickly then,

Download the script packages in the background by using the following method.


wget -N http://files.softaculous.com/install.sh
chmod 755 install.sh
./install.sh –quick

pleskicon

Upon completion,

Step 1 : Login to your Plesk server as the administrator.

Step 2 : you’ll notice a new text link appear, clearly labeled as: Softaculous Auto Installer.


Cheap web Hosting


How to Install Softaculous on Directadmin


Cheap reseller Hosting


Install-Softaculous-on-Directadmin


Softaculous is integrated into DirectAdmin and can be installed into DirectAdmin in just minutes. Softaculous takes care of the complete lifecycle of the application from install to backup to update. It’s really easy to install Softaculous on DirectAdmin. Please follow the steps to install Softaculous on Directadmin.


Installing Softaculous on Directadmin:

Step 1 . Before starting the installation make sure ionCube Loaders are enabled.

Step 2 . Login into Direct Admin with your root account via SSH.

Step 3 . Execute the following commands:


cd /usr/local/directadmin/plugins
wget -n http://www.softaculous.com/da/install_softaculous.php
chmod 755 install_softaculous.php
/usr/local/bin/php -d open_basedir=/ -d safe_mode=0 -d disable_functions=”” /usr/local/directadmin/plugins/install_softaculous.php


The Installer will start showing the Installation Processes and when done will indicate the same.

Note: Scripts will be downloaded during this process. The Download Activity will also be shown on the screen.


Thats it the installation of Softaculous is completed!


Directadmin

How to Check Installation: 

Step 1 . Login to your Directadmin server.

Step 2 . Click on Softaculous Auto Installer link.

Step 3 . Find the Softaculous icon in Software Services.

cpanelScreenshot
The following screen will appear if the Softaculous is installed successfully.


Then, 


Installing IonCube Loaders:


The Ioncube loaders will be enabled by Softaculous itself for CentOS but if you are using any other OS then please follow these three steps to enable Ioncube:

Step 1 . Download the required Ioncube file.

Step 2 . Rename the file to ioncube.so

Step 3 . Place the file in the following directory

/usr/local/directadmin/plugins/softaculous/ioncube.so


Note : If you get the error Unable to execute your request please execute the following command :

root> chmod -R 0755 /usr/local/directadmin/plugins/softaculous


Cheap web Hosting


How to Install phpBB from Softaculous


Cheap reseller Hosting


Install phpBB from Softaculous

PHPBB copy

PhpBB is a free flat-forum bulletin board software solution that can be used to stay in touch with a group of people or can power your entire website.

To install phpBB using Softaculous, follow these steps:

Step 1. Log into your cPanel account.

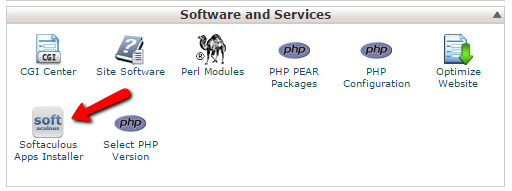
Step 2. In the Software and Services section, Click on Softaculous icon.

Softaculous

Step 3. cPanel will redirect you to the Softaculous Panel.

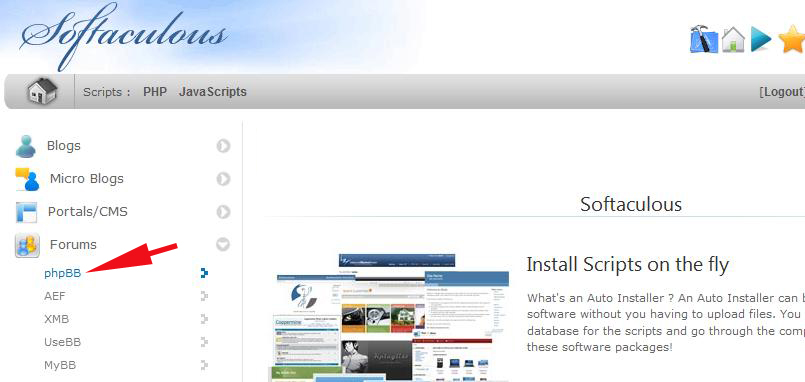
Step 4. On the left side of your screen you should locate the Forums category.

Step 5. Click on Forums.

Step 6. Then click on the phpBB link.

Install-phpBB3_Forums_PHPBB

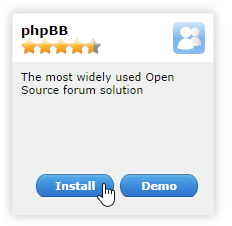
Step 7. Click on the Install button.

phpbb Install

Step 8. Fill the necessary field under the Software Setup field.

1) Choose Domain
2) In Directory
3) Database Name

Step 9. Enter the following details under the Board Settings field.

1) Board Name
2) Site Description
3) Board E-mail

Step 10. Under the Admin Account field enter the following information

1) Admin Username
2) Admin Password
3) Admin Email

Step 11. Enter the following details under the Choose Language field

Select Language 

Step 12. Scroll down to the end of page.

Step 13. Click on the Install Button.


.
.
.
.
.
.

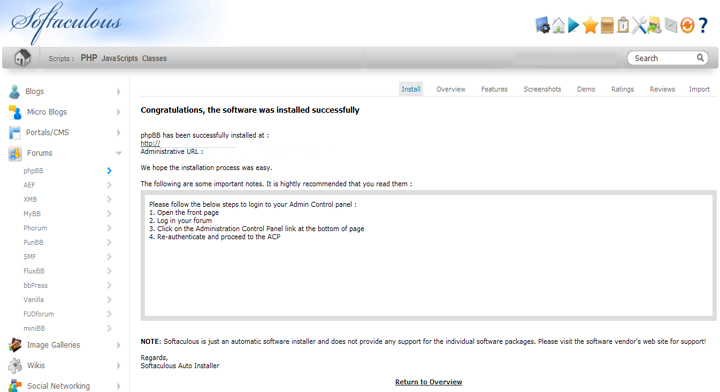
Your Software has been Installed Correctly.

install-phpbb


Cheap web Hosting


How to Install Drupal Using Softaculous


Cheap reseller Hosting


Install Drupal Using Softaculous

Hostripples offer super-easy Drupal installation using programs is called Softaculous. Softaculous is ideal for Web Hosting companies. It is used by diverse organizations, from local businesses to global corporations.

In this artical we will show you how to install Drupal with Softaculous. Please, follow these steps:

1) Log into your Cpanel.

2) You will see a page of options for your new site.

3) Click the Softaculous icon. 

See Following Screenshot : 

Softaculous

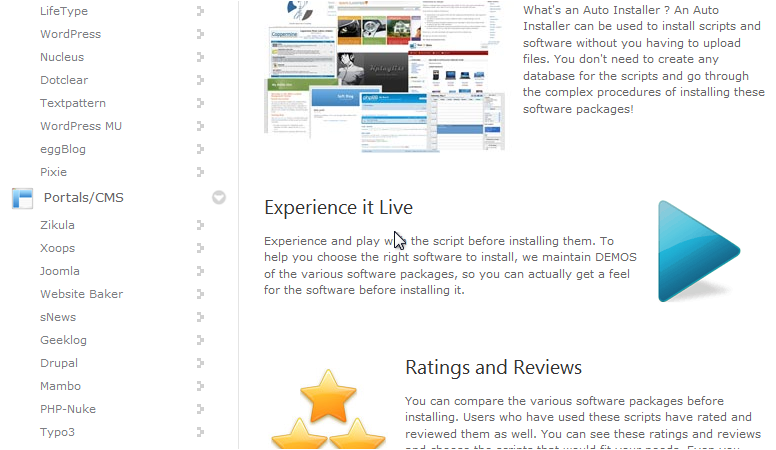
4) On the left hand side, you will see a list of all the programs that Softaculous has the ability to manage.

5) Scroll down the list until, you find the name Drupal in the Portals/CMS section of the menu.

6) Click the Drupal link.

See Following Screenshot : 

Drupal link-Portals-CMS

7) Click the Install tab near the top of the page.

See Following Screenshot : 

Install Drupal

8) Enter a directory where you want Drupal to appear on your website in the In Directory text box.

9) Enter a Username and Password.

Note : The username and password allow you to administer and customize your site. Choose a strong password; otherwise, you risk someone hacking your site.

10) Enter your e-mail address

11) Click the Install Drupal button.

12) Click the Finish Installation button.

You will see a confirmation screen when the installation finishes, and you will be e-mailed a confirmation that your site has been installed.

See Following Screenshot : 

Drupal-Finish Installation

13) Click the link to your site.

.
.
.
.

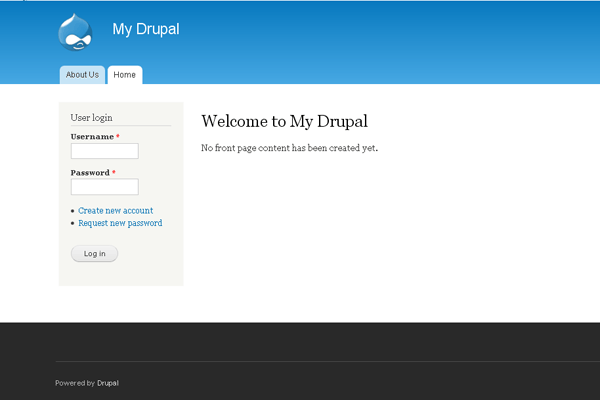
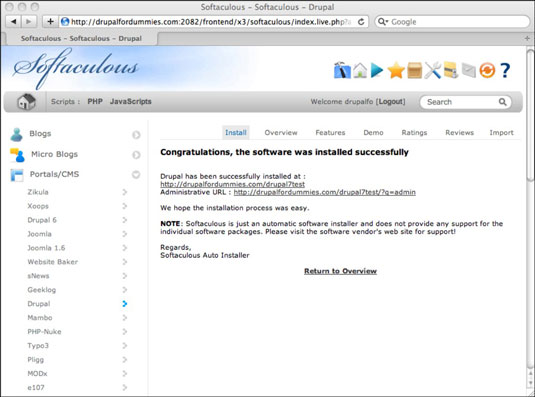
“Drupal has been successfully installed”

See Following Screenshot : 

my Drupalscreenshot1


Cheap web Hosting


Change Linux Root Password Temporarily


Cheap reseller Hosting


How to change Linux root password temporarily

If you are logged in as root and you don’t know the root password then you can follow the steps. You can easy to change your root password. 


Step 1. Back-up your current shadow file.

[root@hostripples ~]# cp /etc/shadow /etc/shadowbkup

Step 2. Change the current root password

[root@hostripples ~]# passwd root

Changing password for user root.
New UNIX password:
BAD PASSWORD: it is based on a dictionary word
Retype new UNIX password:
passwd: all authentication tokens updated successfully.

Step 3. Switch to a local user to test whether ‘your’ root password is working or not.

[root@hostripples ~]# su – localuser 
[localuser@hostripples ~]$ su – root
Password:
[root@hostripples ~]#

Yes, you are now logged in as root with ‘your’ password.

Step 4. Restore the previous root password

[root@hostripples ~]# mv /etc/shadowbkup /etc/shadow
mv: overwrite `/etc/shadow’? y
[root@hostripples ~]#

.

.

.

.

This trick is meant for students and kindly do not misuse.


Cheap web Hosting


“ffmpeg: error while loading shared libraries: libavdevice.so.52:”


Cheap reseller Hosting


Error While installing FFMPEG on CentOS server “ffmpeg: error while loading shared libraries: libavdevice.so.52:”

After installing FFMPEG on one of my client server, the above error apears whenrunning ffmpeg for the first time.


Error :


“ffmpegffmpeg: error while loading shared libraries: libavdevice.so.52: cannot open shared object file: No such file or directory”


Error-and-Solution


Solution :


It is very simple step to solve your error.

Change your library path by running following command :

root@hostripples[~]# export LD_LIBRARY_PATH=/usr/local/lib/

.
.
.
.

Its done!


Cheap web Hosting


How to Setup Minecraft on a Linux CentOS Server


Cheap reseller Hosting


Setup Minecraft on a Linux CentOS Server


-Setup-Minecraft


* First, To download PuTTY to access SSH.


* Installing Minecraft by using following command: 

yum install java-1.6.0-openjdk


* Switch to the root directory by using following command:

cd


* Create a Minecraft directory

mkdir minecraft


* Enter the directory by using following command: 

cd minecraft


* Download Minecraft by using following line 

wget http://minecraft.net/download/minecraft_server.jar


* Now, Using Following Scripts 

chmod +x minecraft_server.jar
yum install screen
screen


* Then, Start up Minecraft

java -Xmx1024M -Xms1024M -jar minecraft_server.jar nogui


===========================================


** To close PuTTY and keep Minecraft running.:

Control + a + d


** To get back to the screen where Minecraft is running hold the following keys on your keyboard:

screen -r


linux__minecraft


Cheap web Hosting


How to Install Minecraft Server on CentOS VPS


Cheap reseller Hosting


How to Install Minecraft Server on CentOS VPS


Install Minecraft_ashishkale.in copy


  • First, Installing Java-JDK by using following command: 

yum install java-1.6.0-openjdk

  • If have check Java was installed then you can use following command:

which java

  • The following command will be displayed if it was properly installed:

/usr/bin/java

  • Switch to the root directory by using following command:

cd

  • Create a Minecraft directory, using following command:

mkdir Minecraft

  • Now, Enter the directory:

cd Minecraft

  • Download Minecraft:

wget http://minecraft.net/download/minecraft_server.jar

.
.
.
.
Minecraft is now installed.


  • You’ll now need to install “screen” to keep the Minecraft server running after the SSH session is closed, you can use following command.

yum install screen

  • Use the screen and run Minecraft. Enter screen:

screen

  • Start up Minecraft

java -Xmx1024M -Xms1024M -jar minecraft_server.jar nogui


===========================================


  • To get back to the normal screen, press these keys:

Control+A+D

  • To get back to the screen where Minecraft is running:

screen -r


Cheap web Hosting


How To Reset A Kloxo Or LxAdmin Password From SSH


Cheap reseller Hosting


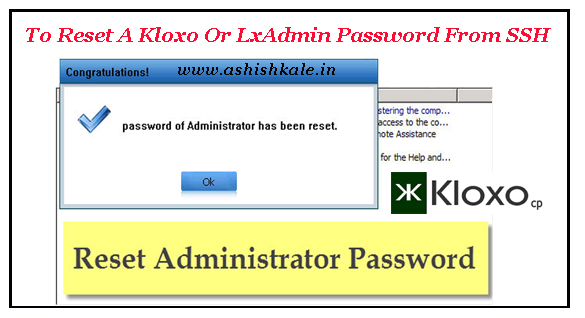
How to Reset A Kloxo Or LxAdmin Password From SSH

Kloxo is an another useful free control panel for web hosting management.

When your VPS is installed by us with lxadmin the password will be the same as what you asked for on setup.

If not try “admin”

Note: if you reinstall yourself it will also be “admin”

If you still can’t login:

Step 1 : Login via SSH server as root.

Step 2 : Execute the script.

cd /usr/local/lxlabs/kloxo/httpdocs

or

cd /usr/local/lxlabs/lxadmin/httpdocs

Step 3 : Restart Kloxo.

/usr/bin/lphp.exe ../bin/common/resetpassword.php master

Step 4 : Now try your password again.

If you still can’t get it to work, create a support ticket at Hostripples client area.

Reset a Kloxo password_ashishkale.in

That’s it!!


Cheap web Hosting


1 7 8 9 10 11 25