How to Enable LiteSpeed Web Cache Manager on cPanel?

LiteSpeed is a built-in caching engine that allows to boost website performance. This guide will describe the steps to enable LiteSpeed web cache manager in cPanel.Initially, you have to log in to your cPanel account with a username and password.
- Initially, you have to log in to your cPanel account with a username and password.
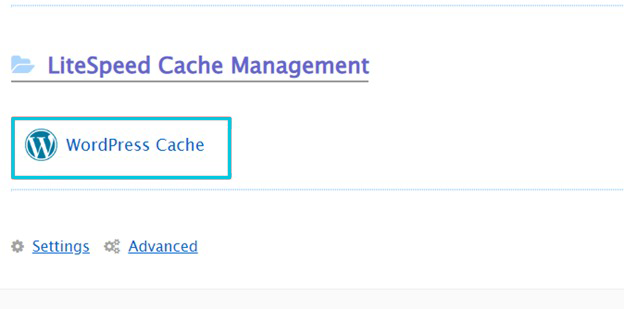
2. Once you have logged in to your cPanel the cPanel dashboard will be shown, scroll down and go to the Advanced section > LiteSpeed Web Cache Manager.

3. After logging in, you have to click on the WordPress cache icon.
4. The next step is to click on the Scan button. This will highlight all the active WordPress installations.
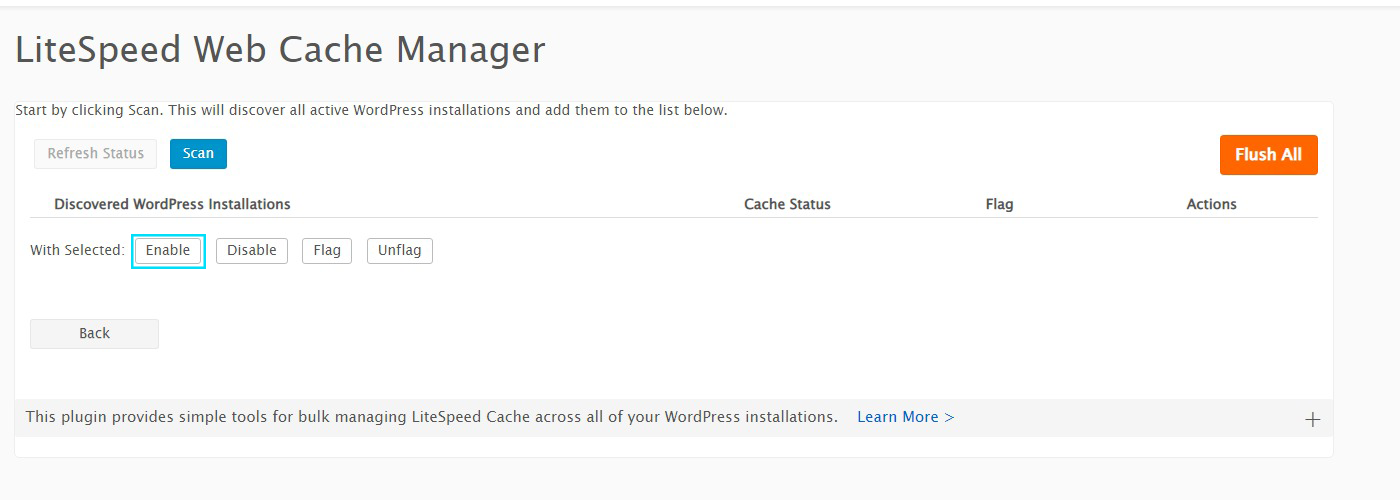
5. Eventually, once all the WordPress installations are discovered, you have to select the ones you want to activate and then click on Enable.

This is how you can implement these steps to use LiteSpeed web cache manager for WordPress sites on your cPanel server.
In conclusion,
enabling LiteSpeed Web Cache Manager on cPanel can significantly enhance website performance and speed, ultimately improving user experience and search engine rankings.
By following the simple steps outlined in this guide, website owners can harness the power of caching to optimize their site’s performance.
Embracing LiteSpeed Cache can lead to tangible benefits, such as reduced server load and faster page load times. Stay ahead in the digital landscape by leveraging this powerful tool to deliver a seamless and efficient web experience for your visitors.
