How to RDP connect to windows server / VPS ?
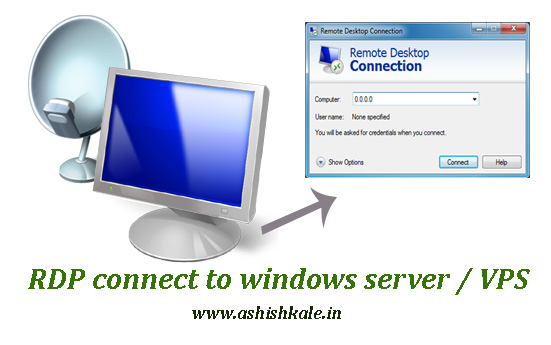
RDP connect to windows server/VPS Connecting to a remote Windows server or Windows VPS from your Windows 7 PC is easy with Microsoft’s own Remote Desktop Connection (RDC) program. It is included with most versions of Windows. To launch RDC Enter the following: 1) Open the Start menu of your computer 2) Search for “Remote Desktop Connection”. Note (If you […]
» Read more