How to install ZPanel on Ubuntu


Cheap reseller Hosting


How to install ZPanel on Ubuntu

Install ZPanel on Ubuntu

ZPanel is a free to download and use Web hosting control panel. It is written to work effortlessly with Microsoft Windows and POSIX (Linux, UNIX and MacOSX) based servers or computers. This solution can turn a home or professional server into a fully fledged, easy to use and manage web hosting server.

As of writing the currently release of ZPanel is 10.1.0. You can go to the ZPanel download page to find the latest version.


To Install ZPanel on Ubuntu

1) Log into the VPS as root.


2) To the update and upgrade by entering the following commands:

apt-get update -y && apt-get upgrade -y


3) Obtain the ZPanel installer:

wget http://www.zvps.co.uk/sites/default/files/downloads/ubuntu-12-04/package/installer-x86_64-install.sh.x.tar.gz


4) Extract the .tar.gz installer by using following commands: 

tar -xf installer-x86_64-install.sh.x.tar.gz


5) Run the installer by using following commands: 

./installer-x86_64-install.sh.x


6) Follow the on screen prompts to complete the install.

.
.
.
.
.

Your ZPanel Installation Complete !

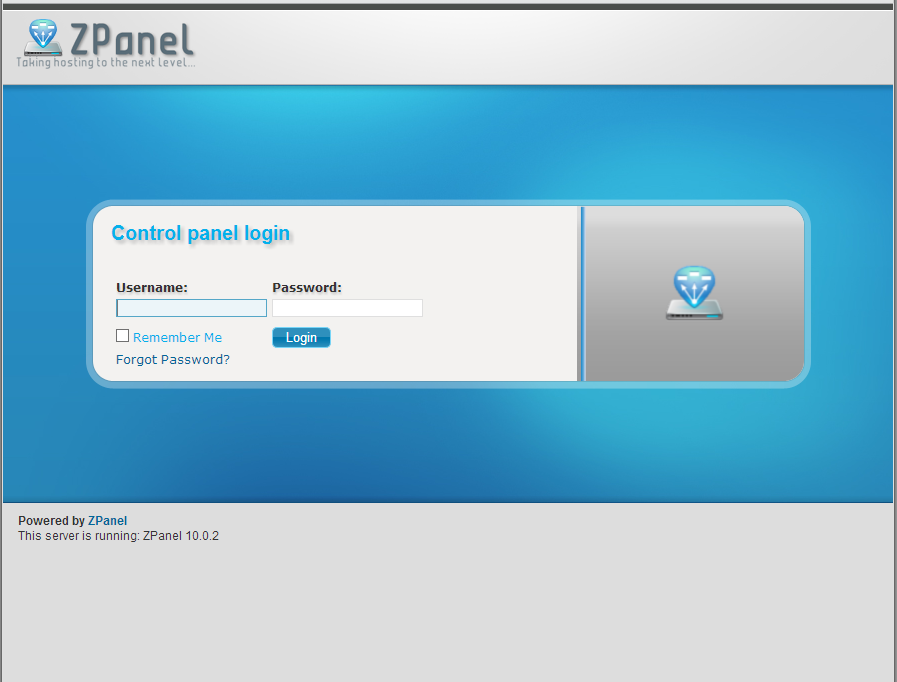
screenshot_Zpanel Login

Then,

1) After installation, reboot your VPS.


2)  Go to the VPS’s IP address in your web browser you can access ZPanel.


3) The default admin login is zadmin, the password is located inside the

/root/passwords.txt file.

4) You can get the password by logging into SSH and issuing :

cat /root/passwords.txt


Cheap web Hosting


How to Install Ajenti on Ubuntu


Cheap reseller Hosting


Install-Ajentii

Ajenti is a simple, lightweight, free and open source tool with a web-based administration control panel. It allowing to manage ubuntu servers and this is similar to Webmin. Ajenti is provides fast and responsive web interface for managing small server set-ups and also best suitable for VPS and Dedicated servers. It has built with many pre-made plugins for configuring and monitoring server software’s and services such as Apache, Cron, File System, Firewall, MySQL, Nginx, Munin, Samba, FTP, Squid and many other tools like File Manager, Code Editor for developers and Terminal access.


Connecting To Your VPS

1) Establish a SSH connection to your virtual server and authenticate as root by using follownig commands

ssh root@your-ip


2) Download the latest package files by using following commands :

apt-get update


Importing the repository key

The following command downloads the key and automatically adds it to your system.

wget http://repo.ajenti.org/debian/key -O- | apt-key add –


Adding the APT repository

1) To Add the repository to your sources.list by using the following command

echo “deb http://repo.ajenti.org/ng/debian main main ubuntu” >> /etc/apt/sources.list


2) Navigate to the end of the file and paste the following line

deb http://repo.ajenti.org/debian main main debian


3) Save this changes and Exit.


Installing Ajenti


Step 1 : Update the package sources.


Step 2 : Install ajenti package by using following commands

apt-get update && apt-get install ajenti -y


Step 3 : Start the service by using following commands

service ajenti restart


Step 4 : If you are using UFW firewall open port 8000 to enable access to the control panel by using following command

ufw allow 8000

.
.
.
.
Congratulation’s! You have successfully installed Ajenti.


   Or


Quick automatic installation then use following commands  

wget -O- https://raw.github.com/ajenti/ajenti/1.x/scripts/install-ubuntu.sh | sudo sh


Related Post “How to Configure Ajenti on Ubuntu


Cheap web Hosting


How to Install phpmyadmin on centOs 7


Cheap reseller Hosting


phpmyadmin on centOs 7 

phpMyAdmin is an open source tool used for the administration of MySQL. phpMyAdmin depends on the LAMP stack. It requires Apache2 or any compatible web servers, MySQL and PHP. This post will show you how to install phpmyadmin on centos 7.

Install-phpMyadmin-CentOS

Installation : 

Step 1 : 

Download epel-release-7-x.noarch.rpm

Step 2 :

Install epel-release-7-x.noarch.rpm file

Step 3 : 

Copying the rpm link by using follownig command

[root@hostripples ~]# rpm -ivh http://epel.mirror.net.in/epel/7/x86_64/e/epel-release-7-1.noarch.rpm

Step 4 : 

Now, update repositories by issuing follownig command

[root@hostripples ~]# yum check-update

Step 5 :

Install phpmyadmin package along with dependencies

[root@hostripples ~]# yum -y install phpmyadmin

When you are finished

Step 6 :

Open /etc/httpd/conf.d/phpMyAdmin.conf file and edit as follows and Find follownig lines.

Note : ( you are found these line 2 times )

# Apache 2.4
<RequireAny>
Require ip 127.0.0.1
Require ip ::1
</RequireAny>


Replace with


# Apache 2.4
<RequireAny>
# Require ip 127.0.0.1
# Require ip ::1
Require all granted
</RequireAny>

Step 7 :

Then, Restart Apache service by using following commands

[root@hostripples ~]# systemctl restart httpd.service

Step 8 :

Now open http://serverIP/phpmyadmin in your browser.

.
.
.
.
.

Congratulations! You have just installed phpMyAdmin on your CentOS 7


You can login using root as username and mysql root password.


Cheap web Hosting


Linux Mint : Error : “Greeter Application Crashes”


Cheap reseller Hosting


Linux-Mint--Error-

Error :


In Mint 15 Cinnamon, on systems with nVidia chipsets, the login screen fails to “Enable accessible login” under the “Accessibility” tab, Big mistake, on the next reboot I got the following error :

” The greeter application appears to be crashing. Attempting to use a different one ”.

I was not able to login into Linux as the greeter kept crashing repeatedly.

Solution: 

The nVidia driver must be upgraded, by adding the xorg-edgers ppa, and installing an updated MDM and themes. Follow the instructions below and solved your error

Step 1. Install the updated nVidia drivers from the edgers ppa :

Use the following commands 

sudo apt-add-repository ppa:xorg-edgers/ppa
sudo apt-get update && sudo apt-get dist-upgrade


Step 2. Add the updated MDM and themes:

Use the following commands 

sudo add-apt-repository ppa:nilarimogard/webupd8
sudo apt-get update
sudo apt-get install mdm ubuntu-mdm-themes


Step 3. Reboot the system and 

.

.

.

The problem should be completely resolved.


Cheap web Hosting


How to Disable Clamav and Amavis for Postfix


Cheap reseller Hosting


How to disable Clamav and Amavis for postfix


If you want to run postfix but not run the antivirus (Clam, Amavis), there is a way to disable those services while allowing postfix to run as normal.

Follow the instructions you can easily to disable Clamav and Amavis for postfix.


1) Edit the file/etc/postfix/main.cf

And use the following commands :

content_filter = amavis:[127.0.0.1]:10024
receive_override_options = no_address_mappings


2) Edit the file /etc/postfix/master.cf

And use the following commend :

amavis unix – – – – 2 smtp
-o smtp_data_done_timeout=1200
-o smtp_send_xforward_command=yes
127.0.0.1:10025 inet n – – – – smtpd
-o content_filter=
-o local_recipient_maps=
-o relay_recipient_maps=
-o smtpd_restriction_classes=
-o smtpd_client_restrictions=
-o smtpd_helo_restrictions=
-o smtpd_sender_restrictions=
-o smtpd_recipient_restrictions=permit_mynetworks,rej ect
-o mynetworks=127.0.0.0/8
-o strict_rfc821_envelopes=yes
-o receive_override_options=no_unknown_recipient_chec ks,no_header_body_checks
-o smtpd_bind_address=127.0.0.1


3) To stop the services :

/etc/init.d/amavisd stop
/etc/init.d/clamav-daemon stop
/etc/init.d/clamav-freshclam stop
/etc/init.d/clamd.amavisd stop


4) Disable the services from start-up :

chkconfig –levels 235 amavisd off
chkconfig –levels 235 clamav-daemon off
chkconfig –levels 235 clamav-freshclam off
chkconfig –levels 235 clamd.amavisd off


5) Reboot your server, and restart postfix by entering :

/etc/init.d/postfix restart


Cheap web Hosting


To Configuring NodeJS, Grunt, and Bower for CageFS


Cheap reseller Hosting


NodeJS is a powerful platform built on Chrome’s Javascript Runtime that can be used to build fast and scalable web applications. Using the following Steps to Install and Configure NodeJS, Grunt, and Bower for CageFS.

Configuring NodeJS


To Install NodeJS, Grunt, and Bower on CloudLinux

1) Login to your root server


2) Create a directory and move into it using following scripts

mkdir ~/nodejs-install; cd ~/nodejs-install


3) To Copy the install files to using following scripts

( These install file is currently maintained for the rpms )

git clone https://github.com/nodesource/distributions.git


4) Move to rpm install folder


5) Run the setup to using following scripts

cd distributions/rpm; sh setup


6) Install nodejs to using following scripts

yum install nodejs


7) Install grunt and bower to using following scripts

npm install -g grunt-cli; npm install -g bower


If you are not using CageFS with CloudLinux you are done. Your nodejs, grunt, and bower commands should all work in the shell. Then you are using CageFS


How to Configuring NodeJS, Grunt, and Bower for CageFS


1) Configure cagefs for nodejs to using following scripts

touch /etc/cagefs/conf.d/nodejs.cfg


2) In grunt.cfg file use the any editor & copy the following scripts

[grunt]
comment=Grunt tools
paths=/usr/bin/grunt, /usr/local/bin/grunt, /usr/lib/node_modules/grunt-cli


3) Configure cagefs for bower to using following scripts

touch /etc/cagefs/conf.d/bower.cfg


4) In bower.cfg file use the any editor & copy the following scripts

[bower]
comment=Bower web tools
paths=/usr/bin/bower, /usr/local/bin/bower, /usr/lib/node_modules/bower


5) Then re-initialize cagefs to using following scripts

cagefsctl –force-update

.
.
.
.
Congrast Your nodejs, grunt, and bower commands should be available on cPanel accounts.


Test


To test an installation is working (and that the setup scripts are working!) use:

curl -sL https://deb.nodesource.com/test | bash –


Cheap web Hosting


How to Install Node.js On CentOS 7


Cheap reseller Hosting


Install-Node.js


Node.js is an open source, cross-platform runtime environment for server-side and networking applications. Node.js applications are written in JavaScript and can be run within the Node.js runtime on OS X, Microsoft Windows, Linux, FreeBSD, NonStop, IBM AIX, IBM System z and IBM i.


Install Node.js From Source


The following steps to install Node.js From Source

1) Open a new terminal tab on your CentOS 7 machine.

2) Run the following command to download the archive file which we need to use for the installation.

wget http://nodejs.org/dist/v0.12.0/node-v0.12.0.tar.gz

3) Eextract the tar file

tar xvf node-v0.12.0.tar.gz

4) Use the following command to change the working directory to node.

cd node-v*

Before compiling our code we need to install some packages in our CentOS machine that will help us to do so.

1) Opened tab of your terminal enter the followings.

sudo yum install gcc gcc-c++

2) Wait for these packages to install

3) Run the following commands to configure and compile

./configure
make

Don’t worry if the above takes some time to complete because the compilation will take awhile.

4) Use the following command to install Node.js on your system.

sudo make install


.

.

.

Once the installation is finished


You can start using Node.js and to make sure that the correct version is installed you can use the following command in order to check it.

node –version


Cheap web Hosting


How to Install MODx using Softaculous in cPanel


Cheap reseller Hosting


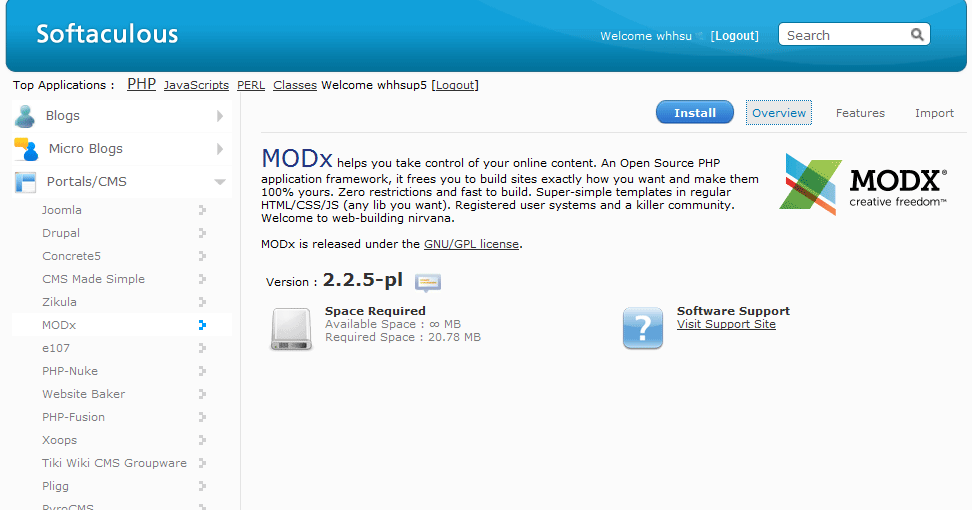
What is MODx?

MODx is an open source Content Management System and Application Framework. Initially inspired by Etomite 0.6, MODx is an ongoing project written by Raymond Irving and a core team of contributors at the MODx Project. MODx is distributed under the GPL license and is now run by a professional team of developers from all over the world.

Install MODx

How to Install MODx using Softaculous in cPanel

Follow these steps to install MODx using Softaculous

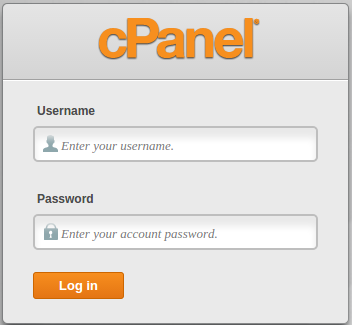
1) Login to the Cpanel


cpanel-login-page


2) Click on the Softaculous icon in the Software/Services section of cPanel. The Softaculous installer page appears.


Install_Softaculous


3) Go to the top right corner and click on the Search field. type modx and then press Enter.

Search box

4) Go to the top right and click on the blue button labeled Install.


modx-install


5) Fill out all of information the boxes.

6) In Directory type the name of a new directory you would like created.


MoDx software setup


7) By default, the box will be left blank to install the software into your main directory.

8) When you are finished, Click Install.


MODx Installed successfully


9) Then you will get a Confirmation page of your installation.


Cheap web Hosting


How to Fix the Internal Server Error in WordPress


Cheap reseller Hosting


How to Fix the Internal Server Error in WordPress

Internal server error is not new for the majority of webmasters. It is an error that generated by your web servers. As long as webmasters encounter this error, they can clearly know something wrong, but they cannot tell the specific information of the error condition because this error is not specific to WordPress. 500 Internal Server Error is one of the most common WordPress errors that a user can come across while using a self hosted WordPress website. 500 Internal Server Error is a generic error message, given when no other specific message is suitable. There can be number of reason for a 500 Internal Server Error to display in a web browser.


Internal Server Error


Following Reasons display to Internal Server Errors

Reason No.1 

Try deleting your .htaccess as your permalinks might not work, but you’ll at least know whether this is being caused by an error in htaccess.


Reason No.2 

I deletion of .htaccess did not work the re-upload it and add the following:

SecFilterEngine Off
SecFilterScanPOST Off


Reason No.3

 Increase the server memory in php.ini file for example from 64m to 128m


Reason No.4  

When you have changed the prefix of your MySQL database tables manually this can also affect it so revert back to your previous tables.


Reason No.5 

When you have just moved to another server/hosting and your php version is old try adding this to your .htaccess file:

AddType x-mapp-php5 .php


Reason No.6 

Disable your brower-cache then quit tour browser then open it again and see what happens. This one is pretty straight forward.


Reason No.7 

When you Check your file permissions as some server will behave better if you set your permissions to chmod 777 instead of chmod 755 – as strange as it sounds.


Cheap web Hosting


How to Protect WordPress from malware?


Cheap reseller Hosting


 Protect WordPress

Malware

WordPress is installed on so many websites now, the global reach is comparable to a company like Microsoft. You probably already know the word malware from PC’s and computers. Computer viruses have been around a long time, as well as virus scanning software. With the Internet age came spyware (programs that spy on what you do and send the details to a remove computer), as well as anti-spyware computer software. 

Best way to protect your WordPress from malware

1) Reset your password:

Regularly reset your WordPress admin, FTP, and web hosting control panel passwords every 30-60 days. Be sure to use a 12+ character strong password. Never use the same password at multiple websites or for multiple accounts.

2) Update Everything:

To keep WordPress itself updated, and all plugins and your theme as well at all times. Check to see if your theme has an update available if you purchased it from a developer or a theme house. Have it reviewed by a competent WordPress developer once per year for vulnerabilities if it was custom coded.

3) Limit Access:

Limit and give admin access to only those with a “need to know” basis within your WordPress website.

4) Remove unused items:

Always remove all themes and plugins that are unused and inactive. In addition be sure to remove any plugins that haven’t had an update in 12-18+ months or more.

5) Setup alerting and monitoring:

web hosting companies are all kinds of free services that will alert or monitor you if your website is down.

6) Register with Google Web-master Tools: 

If you register with Google Web-master Tools and they find malware in your website, they will notify you via email. Keep in mind by the time they notify you, your website could have been infected for days or weeks.

7) Update wp-config security salts:

Since before version 3.0 the wp-config.php file of every WP installation has contained security salts and a URL to get random ones to update the file with. Be sure to update your wp-config file.

8) Install and configure a security plugin:

Setup and configure an all-inclusive security plugin, something like Better WP Security or Secure WordPress.

9) Setup and test a backup solution:

You can use a free plugin, premium solution, or web based service to backup your website to an offsite location for recovery in case you are hacked, or something at your web host goes down. This is even protection against issues if you upgrade WordPress or plugins and a conflict takes your website down. At least with an option like this, if you are taking regular versioned backups, you can easily revert to the last known good version.


Cheap web Hosting


1 5 6 7 8 9 10