How to Uninstall or Remove Trendy Site Builder ?


Cheap reseller Hosting


How to Uninstall/Remove Trendy Site Builder ?

Uninstall-Trendy-Site-Builder

Follow the steps you can uninstall Trendy Site Builder within a couple of minutes.

Step 1 : Login to cPanel/WHM

Step 2 : Download the uninstaller from trendyflashdownload.com

http://www.trendyflashdownload.com/installer/cp/uninstall.sh

Step 3 : Set execute permission for uninstall.sh using following command

chmod 755 uninstall.sh

Step 4 : Run the shellscript uninstall.sh

./unistall.sh

.
.
.
.
.
.

Trendy Site Builder will be completely removed from your server
                                               

                                                            Or


If you are quick remove Trendy Site Builder you can use following script.


cd /usr/local/cpanel/base/frontend/x3 rm -rf trendysitebuilder rm -f trendysitebuilder.tar.gz rm -f /usr/local/cpanel/Cpanel/trendysitebuilder.pm cd /usr/local/cpanel/whostmgr/docroot/cgi rm addon_trendysitebuilder.php rm -rf trendysitebuilder /usr/local/cpanel/bin/unregister_cpanelplugin /usr/local/cpanel/bin/trendysitebuilder.cpanelplugin rm -f/usr/local/cpanel/bin/trendysitebuilder.cpanelplugin /usr/local/cpanel/bin/rebuild_sprites


RELATED ARTICLE 


Cheap web Hosting


How to Update Fantastico Manually via WHM?


Cheap reseller Hosting


How to update fantastico manually via WHM?

Fantastico is a scripts library that automates the installation of web applications to a website.

Update Fantastico

Follow the steps to update Fantastico

Step 1 : Login to your cPanel server via WHM

Step 2 : Locate the section entitled Plugins

Step 3 : Click on “Fantastico De Luxe WHM Admin”

Step 4 : Click on “Update/Get files”

Step 5 : Then Click on “Install Latest Fantastico De Luxe” button

.
.
.

Your Fanstastico should be Fully Updated!!


Cheap web Hosting


How to Install Trendy Site Builder


Cheap reseller Hosting


Trendy Site Builder

Install-Trendy-Site-Builder

                         Trendy Site Builder is very easy to use. You don’t need to spend so much time in building a website when you use it. The software is known to run very fast and smooth.  It’s also very affordable. Trendy Site Builder is optimized for social network sites. It supports the best SEO practices and standards. You can attract steady traffic when you keep using it. You can also generate leads and gain lots of profits when you keep using the platform. We are going to use QuickInstall for the installation of Trendy Site Builder. Just go through following steps and Trendy Site Builder will be installed on your computer.

To Install Trendy Site Builder

1) Login to your cPanel Server via SSH

2) Download the installer file.

3) Run the following command Via SSH:


wget http://www.trendyflashdownload.com/installer/cp/ipbased/trendysitebuilder.sh


4) Adjust the permissions of the installer file, by doing the following command:


chmod 755 trendysitebuilder.sh


5) Run the installer file, by doing the following command:


./trendysitebuilder.sh


Please allow a few moments
.
.
.
.
.
The installation to comlete!
( You’ll be able to login to your cPanel/WHM web hosting server )
 
Logging into Trendy Site Builder via cPanel:

1) Login to your cPanel account via SSH

2) Next, locate the “Software/Services” section

3) Then, Click on “Trendy SiteBuilder Icon”
.
.
.

.
You will now be able to design your new website.


Cheap web Hosting


How to Configuring Self-Signed SSL / HTTPS Access


Cheap reseller Hosting


To Configuring Self-Signed SSL / HTTPS Access

1) To install OpenSSL on your VPS:

apt-get -y install openssl


2) To generate a self-signed certificate that ZPanel will use to secure your connection by using following commands:

openssl req -x509 -nodes -days 365 -newkey rsa:2048 -out /etc/pki/tls/certs/zpanel.crt -keyout /etc/pki/tls/certs/zpanel.key


3) To be configured to use the new certificate by using following commands:

nano /etc/httpd/conf.d/ssl.conf


4) Now, Find the SSLCertificateFile and SSLCertificateKeyFile entries and change them to :

SSLCertificateFile /etc/pki/tls/certs/zpanel.crt
SSLCertificateKeyFile /etc/pki/tls/certs/zpanel.key


5) Save changes and Exit from the file.

We need to redirect all HTTP based ZPanel login attempts to the secure HTTPS URL.

1) Login to ZPanel


2) Navigate the menu system as follows:

Zpanel -> Admin -> Module Admin -> Apache Admin


3) In Global Zpanel section, insert the following:

Redirect Permanent / https://[VPS FQDN]/


4) Now restart the Apache server on your VPS.

service apache2 restart

.
.
.
.
.
.

The installation is now complete!

You can now access your Ubuntu ZPanel installation via secure SSL (HTTPS) connections!


Cheap web Hosting


How to install ZPanel on Ubuntu


Cheap reseller Hosting


How to install ZPanel on Ubuntu

Install ZPanel on Ubuntu

ZPanel is a free to download and use Web hosting control panel. It is written to work effortlessly with Microsoft Windows and POSIX (Linux, UNIX and MacOSX) based servers or computers. This solution can turn a home or professional server into a fully fledged, easy to use and manage web hosting server.

As of writing the currently release of ZPanel is 10.1.0. You can go to the ZPanel download page to find the latest version.


To Install ZPanel on Ubuntu

1) Log into the VPS as root.


2) To the update and upgrade by entering the following commands:

apt-get update -y && apt-get upgrade -y


3) Obtain the ZPanel installer:

wget http://www.zvps.co.uk/sites/default/files/downloads/ubuntu-12-04/package/installer-x86_64-install.sh.x.tar.gz


4) Extract the .tar.gz installer by using following commands: 

tar -xf installer-x86_64-install.sh.x.tar.gz


5) Run the installer by using following commands: 

./installer-x86_64-install.sh.x


6) Follow the on screen prompts to complete the install.

.
.
.
.
.

Your ZPanel Installation Complete !

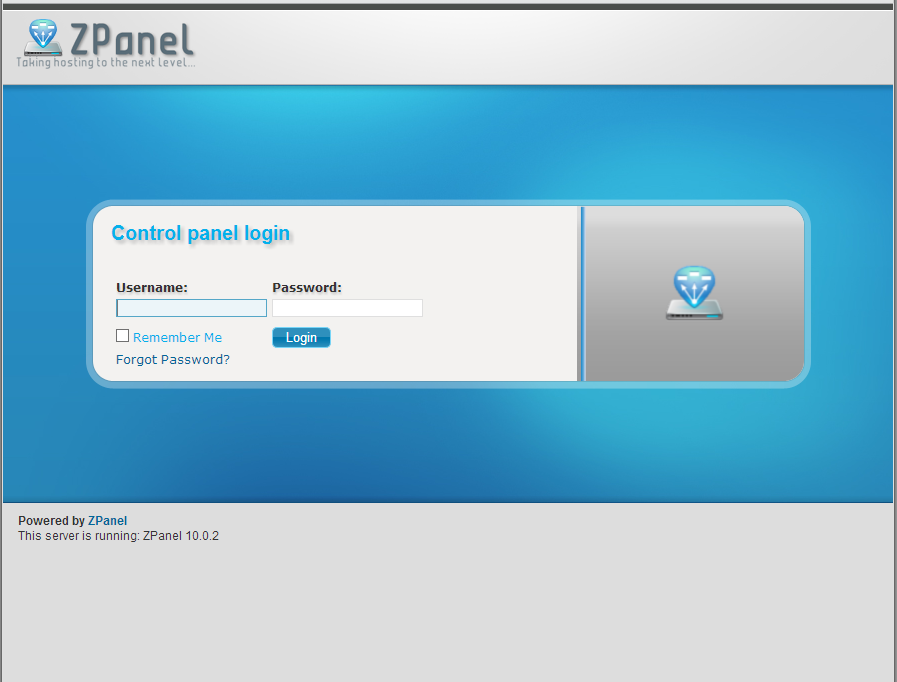
screenshot_Zpanel Login

Then,

1) After installation, reboot your VPS.


2)  Go to the VPS’s IP address in your web browser you can access ZPanel.


3) The default admin login is zadmin, the password is located inside the

/root/passwords.txt file.

4) You can get the password by logging into SSH and issuing :

cat /root/passwords.txt


Cheap web Hosting


How to Disable Clamav and Amavis for Postfix


Cheap reseller Hosting


How to disable Clamav and Amavis for postfix


If you want to run postfix but not run the antivirus (Clam, Amavis), there is a way to disable those services while allowing postfix to run as normal.

Follow the instructions you can easily to disable Clamav and Amavis for postfix.


1) Edit the file/etc/postfix/main.cf

And use the following commands :

content_filter = amavis:[127.0.0.1]:10024
receive_override_options = no_address_mappings


2) Edit the file /etc/postfix/master.cf

And use the following commend :

amavis unix – – – – 2 smtp
-o smtp_data_done_timeout=1200
-o smtp_send_xforward_command=yes
127.0.0.1:10025 inet n – – – – smtpd
-o content_filter=
-o local_recipient_maps=
-o relay_recipient_maps=
-o smtpd_restriction_classes=
-o smtpd_client_restrictions=
-o smtpd_helo_restrictions=
-o smtpd_sender_restrictions=
-o smtpd_recipient_restrictions=permit_mynetworks,rej ect
-o mynetworks=127.0.0.0/8
-o strict_rfc821_envelopes=yes
-o receive_override_options=no_unknown_recipient_chec ks,no_header_body_checks
-o smtpd_bind_address=127.0.0.1


3) To stop the services :

/etc/init.d/amavisd stop
/etc/init.d/clamav-daemon stop
/etc/init.d/clamav-freshclam stop
/etc/init.d/clamd.amavisd stop


4) Disable the services from start-up :

chkconfig –levels 235 amavisd off
chkconfig –levels 235 clamav-daemon off
chkconfig –levels 235 clamav-freshclam off
chkconfig –levels 235 clamd.amavisd off


5) Reboot your server, and restart postfix by entering :

/etc/init.d/postfix restart


Cheap web Hosting


How to Install MODx using Softaculous in cPanel


Cheap reseller Hosting


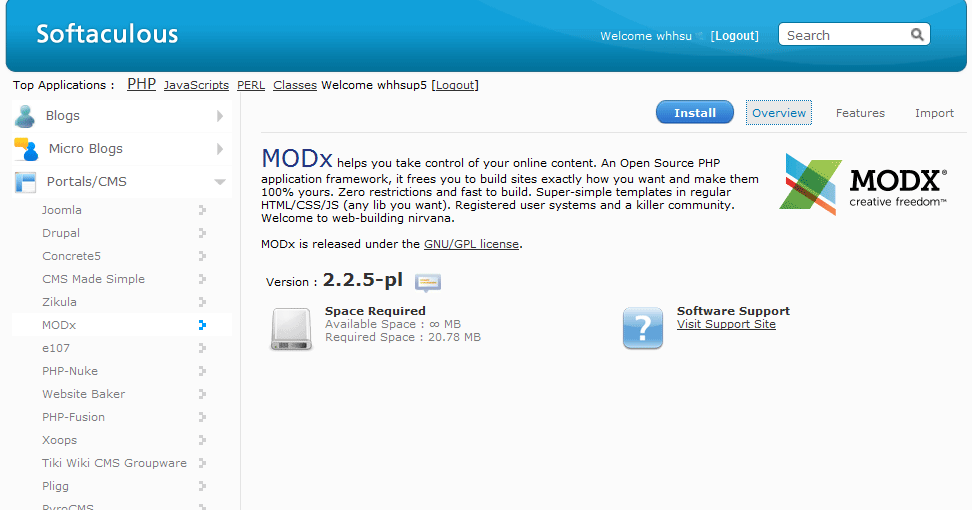
What is MODx?

MODx is an open source Content Management System and Application Framework. Initially inspired by Etomite 0.6, MODx is an ongoing project written by Raymond Irving and a core team of contributors at the MODx Project. MODx is distributed under the GPL license and is now run by a professional team of developers from all over the world.

Install MODx

How to Install MODx using Softaculous in cPanel

Follow these steps to install MODx using Softaculous

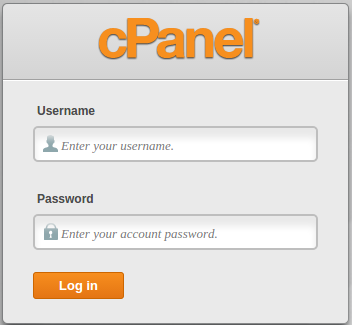
1) Login to the Cpanel


cpanel-login-page


2) Click on the Softaculous icon in the Software/Services section of cPanel. The Softaculous installer page appears.


Install_Softaculous


3) Go to the top right corner and click on the Search field. type modx and then press Enter.

Search box

4) Go to the top right and click on the blue button labeled Install.


modx-install


5) Fill out all of information the boxes.

6) In Directory type the name of a new directory you would like created.


MoDx software setup


7) By default, the box will be left blank to install the software into your main directory.

8) When you are finished, Click Install.


MODx Installed successfully


9) Then you will get a Confirmation page of your installation.


Cheap web Hosting


How to Protect WordPress from malware?


Cheap reseller Hosting


 Protect WordPress

Malware

WordPress is installed on so many websites now, the global reach is comparable to a company like Microsoft. You probably already know the word malware from PC’s and computers. Computer viruses have been around a long time, as well as virus scanning software. With the Internet age came spyware (programs that spy on what you do and send the details to a remove computer), as well as anti-spyware computer software. 

Best way to protect your WordPress from malware

1) Reset your password:

Regularly reset your WordPress admin, FTP, and web hosting control panel passwords every 30-60 days. Be sure to use a 12+ character strong password. Never use the same password at multiple websites or for multiple accounts.

2) Update Everything:

To keep WordPress itself updated, and all plugins and your theme as well at all times. Check to see if your theme has an update available if you purchased it from a developer or a theme house. Have it reviewed by a competent WordPress developer once per year for vulnerabilities if it was custom coded.

3) Limit Access:

Limit and give admin access to only those with a “need to know” basis within your WordPress website.

4) Remove unused items:

Always remove all themes and plugins that are unused and inactive. In addition be sure to remove any plugins that haven’t had an update in 12-18+ months or more.

5) Setup alerting and monitoring:

web hosting companies are all kinds of free services that will alert or monitor you if your website is down.

6) Register with Google Web-master Tools: 

If you register with Google Web-master Tools and they find malware in your website, they will notify you via email. Keep in mind by the time they notify you, your website could have been infected for days or weeks.

7) Update wp-config security salts:

Since before version 3.0 the wp-config.php file of every WP installation has contained security salts and a URL to get random ones to update the file with. Be sure to update your wp-config file.

8) Install and configure a security plugin:

Setup and configure an all-inclusive security plugin, something like Better WP Security or Secure WordPress.

9) Setup and test a backup solution:

You can use a free plugin, premium solution, or web based service to backup your website to an offsite location for recovery in case you are hacked, or something at your web host goes down. This is even protection against issues if you upgrade WordPress or plugins and a conflict takes your website down. At least with an option like this, if you are taking regular versioned backups, you can easily revert to the last known good version.


Cheap web Hosting


Install Easy Hosting Control Panel


Cheap reseller Hosting


EHCP

Easy Hosting Control Panel


                 EHCP (Easy Hosting Control Panel) is an open source hosting control panel for administrators who want to sell hosting or set up hosting servers. EHCP is compatible with a server running a Debian-based system such as Debian Squeeze, Ubuntu, Linux Mint, etc. Ehcp is a Hosting Control Panel (hcp). hcp is a tool in a server to facilate the process of hosting domains, emails, adding domains, ftp users and so on.


EHCP Features:

EHCP has many unique features compared to other control panels.

General Features:

* Full php, full opensource, easily modifiable, customazible, ehcp templates
* Unlimited “resellers, panel users, domains, ftp users, emails, mysqls”
* Domains, subdomains, ftp, mysql, dns (automatic), email etc. management
* password protected domains,
* Email forwarding, autoreply, catch-all emails
* Web-stats (webalizer)
* web-ftp (net2ftp)
* Easy Install Scripts (scripts easily downloaded and copied by means of server)
* Disk quota control,
* Custom http, custom dns, domain aliases, domain redirect,
* Ssl support
* Different languages, templates support, a few lang/templates included,
* Different Menus/pages for Server Admin, Reseller, domain admin, email user (4 level)
* server backup/restore (files+db)
* domain transfer to another ehcp user
* simple, light, fast, host hundreds of domains in it.
* supports Ubuntu 6-9.10, debian 4,5, all debian based linux’es
* Any server related program may be installed with Ubuntu’s apt-get command
* Almost all programs are always up-to-date when you update your server, with Ubuntu’s: apt-get update ; apt-get upgrade
* Opensource, GPL, free, full php, object oriented, modular, easily modifiable/extendable design..
* More features that I forgot to write..

New with 0.29.12:

* Customizable, templates
* add domain to my ftp
* add ftp with any directory under home
* add ftp with subdomain
* add ftp with subdirectory under domainname
* list related/similar functions in ehcp
* edit dns/apache template for a domain
* domain aliases
* email forwardings
* catch all email
* default domain settable for ehcp gui
* “fix apache configuration” link in options
* “fix email (postfix) configuration” link in options
* apache ssl support
* new default theme: xp5-z7
* more “easy install scripts”, a total of 30 scripts
* disk quota support
* smtp auth support
* more options for ehcp
* bulk add domain feature
* multi server intro: separate mysql server support
* improved installer


EHCP


How to Install Easy Hosting Control Panel (EHCP) In Ubuntu 14.04 ?


1) Login as root user using ssh and download the EHCP installation script using the following command:


# wget http://www.ehcp.net/ehcp_latest.tgz


2) Extract the downloaded file using tar command:


# tar -zxvf ehcp_latest.tgz


3) Switch to the extracted folder and run the installation script using the following commands:


# cd ehcp
# ./install.sh


Follow installation wizard and read the instructions carefully, the install script will install all required packages including Apache, MySql and Postfix. You will need to provide some information to configure the services and set the admin passwords.

When the installer is finished. you will be provided with the ehcp login page in your Web browser window, if you are on your local machine, otherwise, you need to connect to your new web Server by entering the IP address of you server.


http://hostripples.com/vhosts/ehcp


Your default admin username: admin
Default admin pass: 1234


Cheap web Hosting


1 4 5 6