The post Basic Configuration for CentOS Web Panel (CWP) first appeared on Web Hosting Stuff.
]]>
Make sure you have install CWP on your server and login to CWP dashboard as root or a user with root privilege via
http://your-ip:2030
1. Setup Nameservers
A nameserver is a computer that is permanently connected to the Internet and translates domain names into IP addresses (or vice versa), enabling you to enter www.ashishkale.in instead of 198.27.103.128. When registering a domain name, you will need (at least) two nameservers configured to handle requests for the domain name in question. You will need to register your private nameserver at your domain registrar panel.
In CentOS Web Panel (CWP) you can define your default NS by going to DNS Functions >> Edit Nameservers IPs. Enter your desired Nameservers and put your server’s IP next to each followed by clicking Save Changes button.
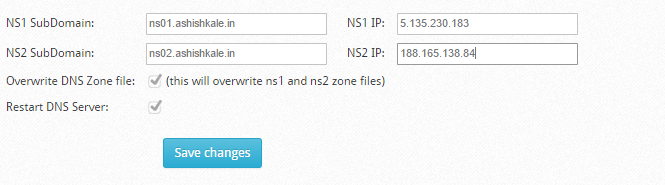
Click on Save Changes .
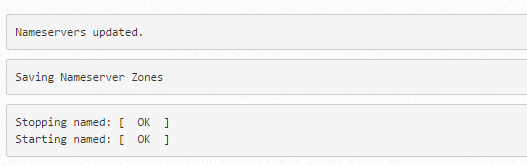
2. Setup Shared IP for websites
Go to CWP Settings then Edit Settings.
Enter your current server IP or free unused IP. Leave Apache port to 80 by default if Varnish is not yest activated. Do not forget to enter your valid email address in the Root Email field.

Click on Save Changes .
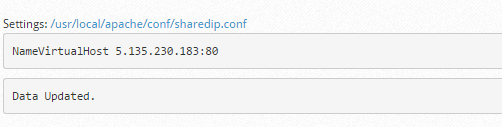
3. Setup A Hosting Package
Go to Packages and Add a Package. Next, give that package a name and define several limitations followed by clicking the Create button.:
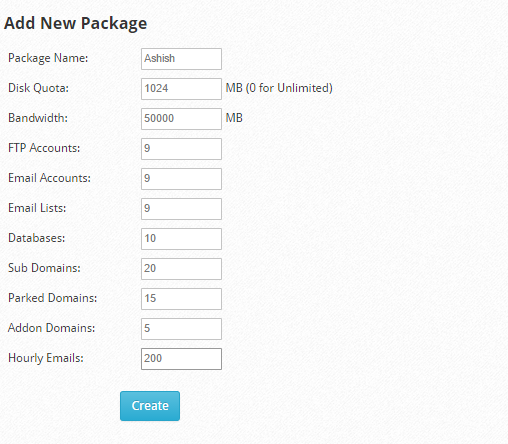
Once done, you’ll just see a message saying Data Updated!
You can verify the Package from List Package :

4. Create a User Account
Go to User Accounts menu then click New Account. Fill up all the information needed .
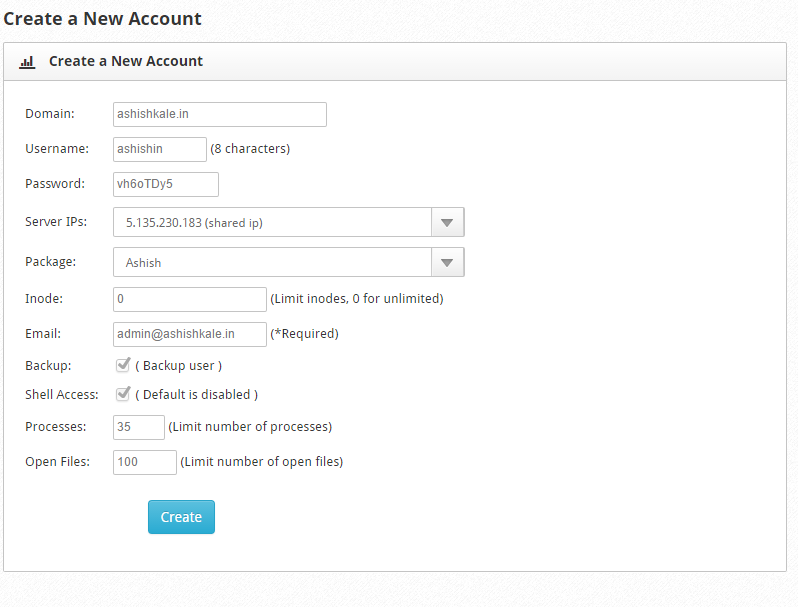
Click on Create .

You can verify the Account creation for Lists Accounts :

5. Install Softaculous :
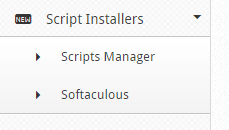
Go to Script Installer > Script Manager > then click the Install Softaculous button.

Click on Install Softaculous .
You’ll then see this message:

Once the Installation is complated you can see an option of Softaculous listed in Script Manager :
That’s all. If you have any suggestion? Do not hesitate to comment.
The post Basic Configuration for CentOS Web Panel (CWP) first appeared on Web Hosting Stuff.
]]>