The post How to Configuring Self-Signed SSL / HTTPS Access first appeared on Web Hosting Stuff.
]]>1) To install OpenSSL on your VPS:
apt-get -y install openssl
2) To generate a self-signed certificate that ZPanel will use to secure your connection by using following commands:
openssl req -x509 -nodes -days 365 -newkey rsa:2048 -out /etc/pki/tls/certs/zpanel.crt -keyout /etc/pki/tls/certs/zpanel.key
3) To be configured to use the new certificate by using following commands:
nano /etc/httpd/conf.d/ssl.conf
4) Now, Find the SSLCertificateFile and SSLCertificateKeyFile entries and change them to :
SSLCertificateFile /etc/pki/tls/certs/zpanel.crt
SSLCertificateKeyFile /etc/pki/tls/certs/zpanel.key
5) Save changes and Exit from the file.
We need to redirect all HTTP based ZPanel login attempts to the secure HTTPS URL.
1) Login to ZPanel
2) Navigate the menu system as follows:
Zpanel -> Admin -> Module Admin -> Apache Admin
3) In Global Zpanel section, insert the following:
Redirect Permanent / https://[VPS FQDN]/
4) Now restart the Apache server on your VPS.
service apache2 restart
.
.
.
.
.
.
The installation is now complete!
You can now access your Ubuntu ZPanel installation via secure SSL (HTTPS) connections!
The post How to Configuring Self-Signed SSL / HTTPS Access first appeared on Web Hosting Stuff.
]]>The post How to Configuring & Customising Ajenti on Ubuntu first appeared on Web Hosting Stuff.
]]>1) To change the root user’s password to the “Configure” menu.
2) Click “Change password” on root account
3) Write a new password.
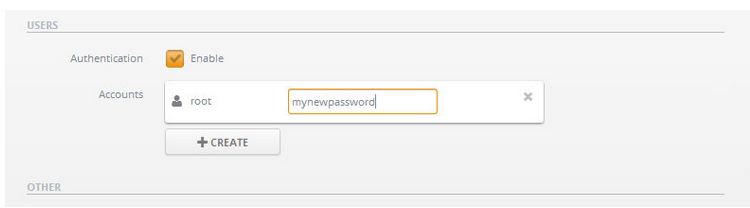
4) You can also create a new user, Select features you would like to grant the user access.
5) Click “Create” button.
6) Set the name by clicking “unnamed“
7) Writing the new name.

8) Click the icon on the left from the name to set the permissions.
9) Click “Save” on the top of the page.
Note : If you altered any other settings, also remember to apply the changes by restarting the control panel.
Customising Ajenti
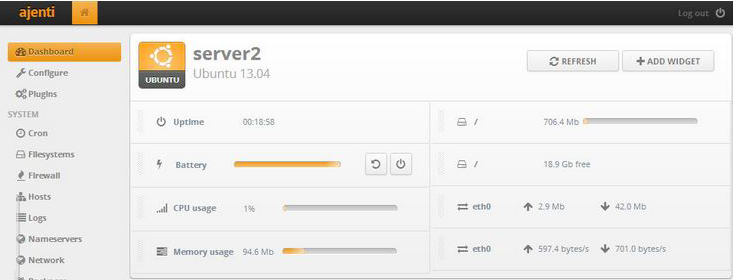
You can remove widgets by grabbing from the dotted area and dragging them down.
Step 1 : Add new widgets by clicking “Add widget”
Step 2 : Drag them to the position you would like them to be
The post How to Configuring & Customising Ajenti on Ubuntu first appeared on Web Hosting Stuff.
]]>