How to force www or non-www in your .htaccess file in cPanel

Force www or non-www in your .htaccess file in cPanel
Step 1: Log into your cPanel.
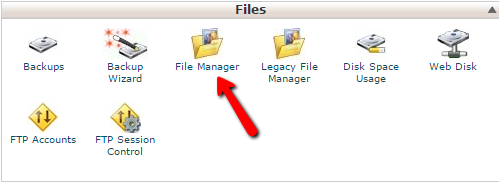
Step 2: Find the Files category and click on the File Manager icon.
Step 3 : A popup box will appear. For the primary domain, click on the Web Root radio button. For addon domains, click on the dropdown and find your desired addon domain name. Be sure the checkbox next to Show Hidden Files is checked.
Step 4 : Click the Go button to enter the File Manager.
Step 5 : You should now be in the root folder of the domain you chose. Look for the .htaccess file and right click on it. This brings up a menu.
Step 6 : Find and click on the Edit option. If you get a popup box, simply find and click the Edit button in the lower right corner to continue to the editor.
Step 7 : You are now in the text editor. Place either selection of code in the file and click on the Save Changes button at the top right corner of the screen. Be sure to replace ‘example.com‘ with your actual domain name.
NOTE: Do not place both selections of code in the file as it will cause an error.
#Force www:
RewriteEngine on
RewriteCond %{HTTP_HOST} ^example.com [NC]
RewriteRule ^(.*)$ http://www.example.com/$1 [L,R=301,NC]
#Force non-www:
RewriteEngine on
RewriteCond %{HTTP_HOST} ^www\.example\.com [NC]
RewriteRule ^(.*)$ http://example.com/$1 [L,R=301]
Step 8 : Once you insert the code, click on the Save Changes button in the upper right corner to save the code change. You can now type your domain name either with or without the www and it will display in the address bar in the format you have set the code for.
